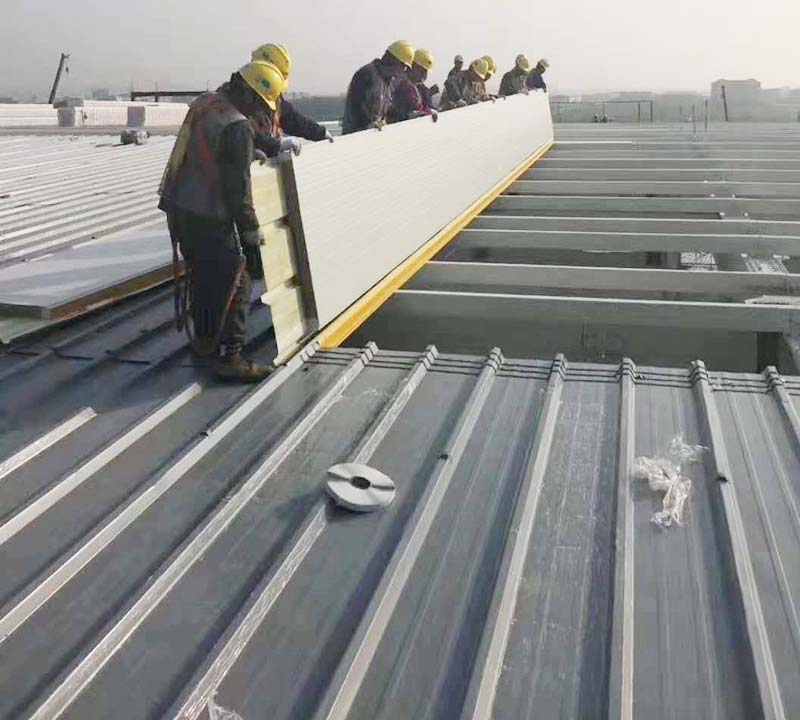
1. Introduction
2. Importance of Sealing Rockwool Panel Joints
3. Materials Needed
4. Step-by-Step Guide to Sealing Joints
5. Common Issues and Solutions
6. Conclusion
Sealing Rockwool Panel joints properly is crucial for ensuring optimal thermal performance and fire resistance. Many manufacturers and installers overlook this step, leading to decreased efficiency and potential safety hazards. In this comprehensive guide, we will explore the importance of sealing joints, materials required, and a detailed step-by-step process for effective sealing of Rockwool panels. Understanding these methods will significantly enhance your project outcomes.

1. Thermal Efficiency: Unsealed joints can cause thermal bridging, reducing the insulation effectiveness of Rockwool panels by up to 30%.
2. Fire Safety: Proper sealing helps maintain the fire-resistant properties of the Rockwool, safeguarding structures from fire hazards.
3. Moisture Management: Inadequate sealing can lead to moisture infiltration, which may cause mold growth and compromise the integrity of the building.
A recent study showed that buildings with unsealed Rockwool panels experienced energy losses of approximately 25%, resulting in increased operational costs.
Rockwool Panels
Acoustic sealant or construction adhesive
Caulk gun
Utility knife
Measuring tape
Protective gloves
Clean cloth for excess sealant
Ensure that the area around the joints is clean and free of dust or debris. This preparation supports better adhesion of the sealant.
Measure the panels accurately and use a utility knife to cut them to fit the designated space tightly. This prevents gaps when sealing.
Using a caulk gun, apply the acoustic sealant along the edge of one Rockwool panel. Ensure an even layer of sealant to create a robust barrier.
Press the joint area firmly, ensuring the sides meet snugly, allowing the sealant to squeeze out slightly.
Using a clean cloth, wipe away any excess sealant from the joint area to achieve a neat finish.
Allow the sealant to cure as per the manufacturer's instructions. This ensures the joints are secure and fully effective.
| Issue | Solution |
|---|---|
| Sealant not adhering | Ensure surfaces are clean and dry before application. |
| Gaps remain after sealing | Reapply sealant and ensure panels are pressed together firmly. |
| Sealant cracking over time | Choose a high-quality, flexible sealant suitable for Rockwool. |
Sealing Rockwool panel joints is an essential step that significantly contributes to thermal performance, fire safety, and moisture control in construction. By following this step-by-step guide, you can ensure your Rockwool panels are sealed effectively, leading to better project outcomes and increased efficiency in insulation. Remember, the right materials and methods can make all the difference. Don’t compromise on sealing—invest time into doing it right!